A staircase with a landing takes a little more planning than a straight run, but it is a common and very manageable build for decks, basements, and homes where a single long flight won’t fit. Break the project into sections, follow a few key rules, and you will end up with a safe, comfortable, code-compliant stair.
In this guide
Why add a landing?
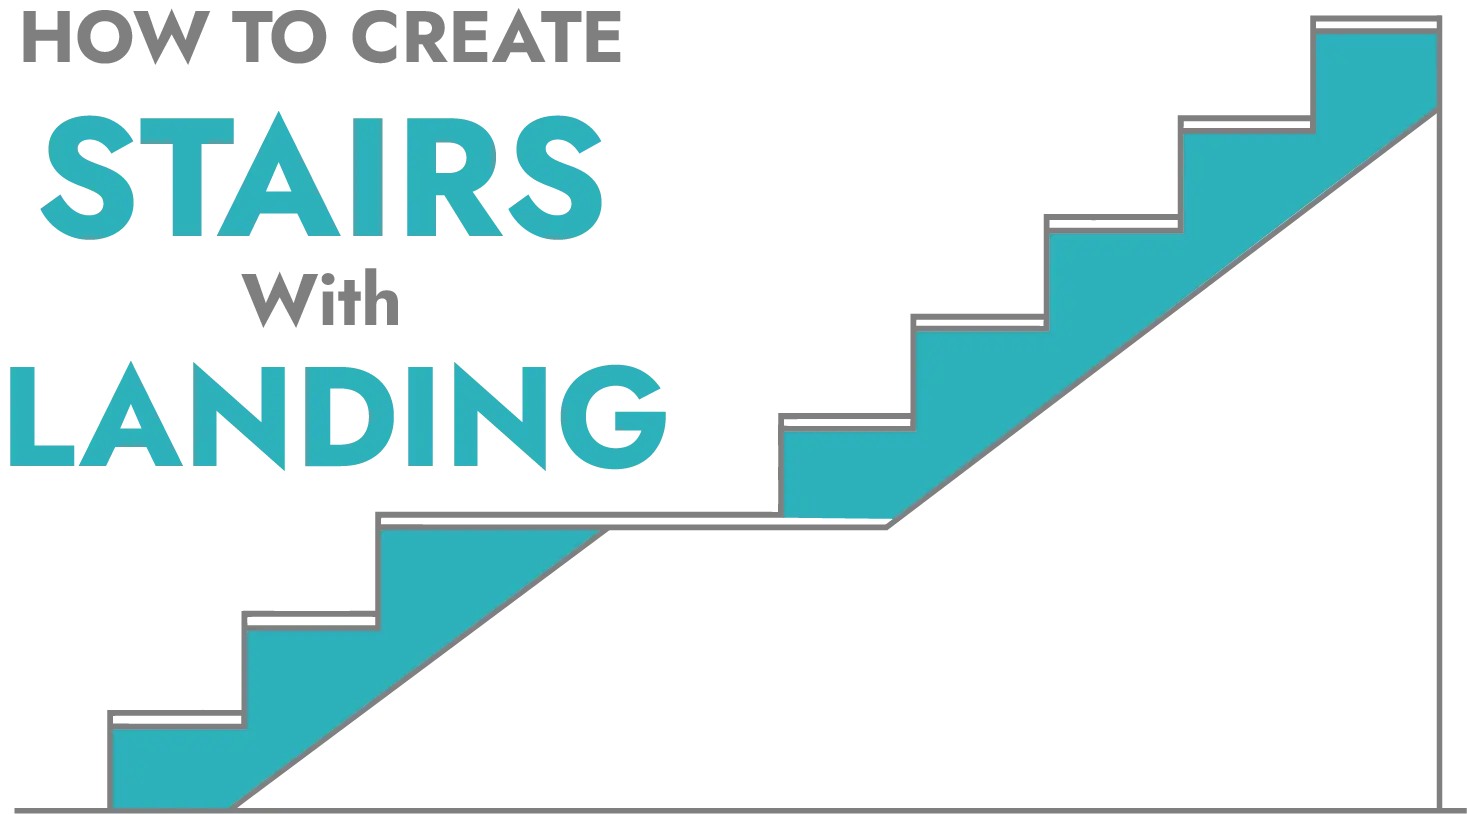
A landing breaks up a long climb, gives people a place to rest, lets the stair turn (L-shaped or U-shaped), and can provide access to another area. For the math, the key idea is simple: a stair with a landing is just two straight stairs connected by a platform. Calculate each flight on its own and the whole project becomes much easier.
What you need before you start
- Total rise: the vertical distance from the lower finished floor to the upper finished floor.
- Target landing height: roughly where you want the landing surface to sit.
- Local code requirements: know your maximum riser height and minimum tread depth before you do any math. Our stair building code guide covers the common rules.
- Layout tools: a good tape measure, a 4-foot level, a framing square, and a pencil.
- A calculator: your phone works, or use the stair calculator to get each flight with a diagram.
Step-by-step: calculating stairs with a landing
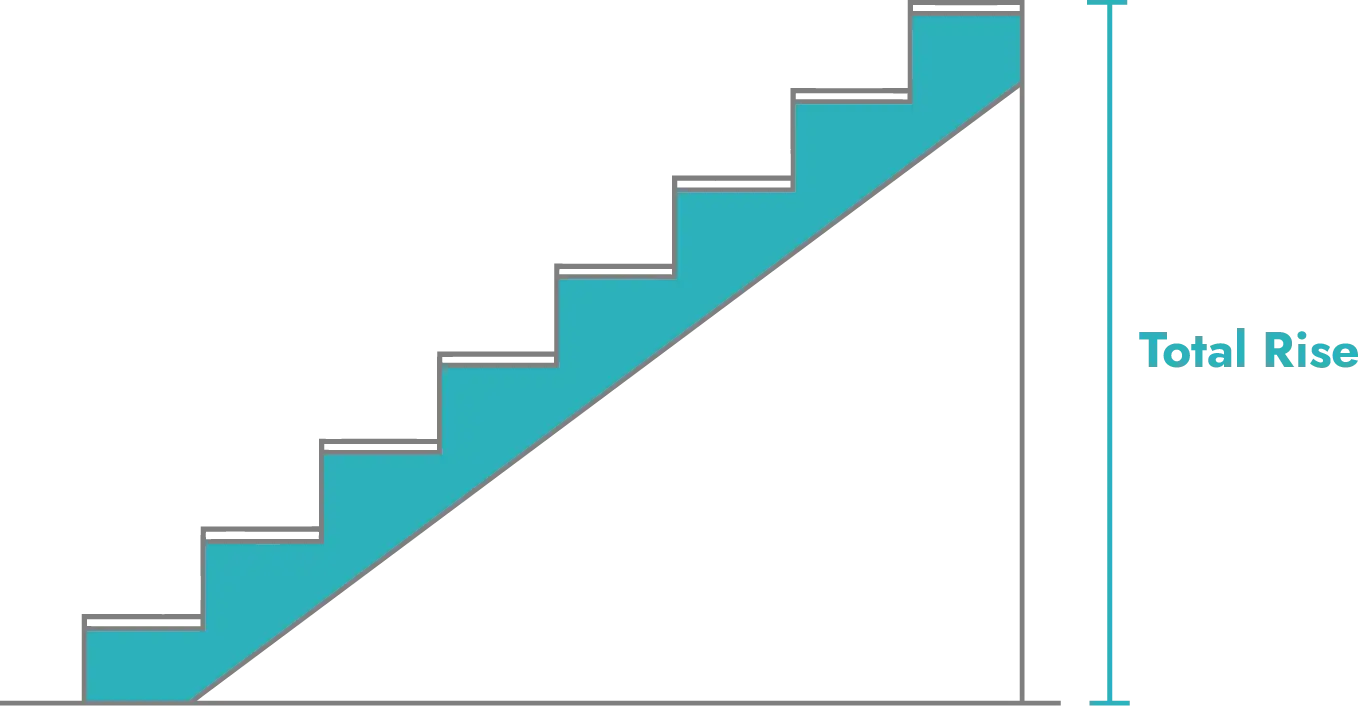
Step 1: Measure the total rise
Measure the exact vertical distance from the finished surface where the bottom step will sit to the finished surface at the top. For deck stairs, that is from the ground or landing pad to the top of the decking. We will call this the total rise (TR).
Step 2: Set the landing height
For an L-shaped or U-shaped stair, the landing usually sits around halfway up. With a 100-inch total rise, for example, start with a landing at about 50 inches. On a long straight run, you can instead decide how many risers lead up to the landing.
The landing splits the job into two rises:
- First-flight rise: from the lower floor to the top of the landing.
- Second-flight rise: from the landing surface to the upper floor.
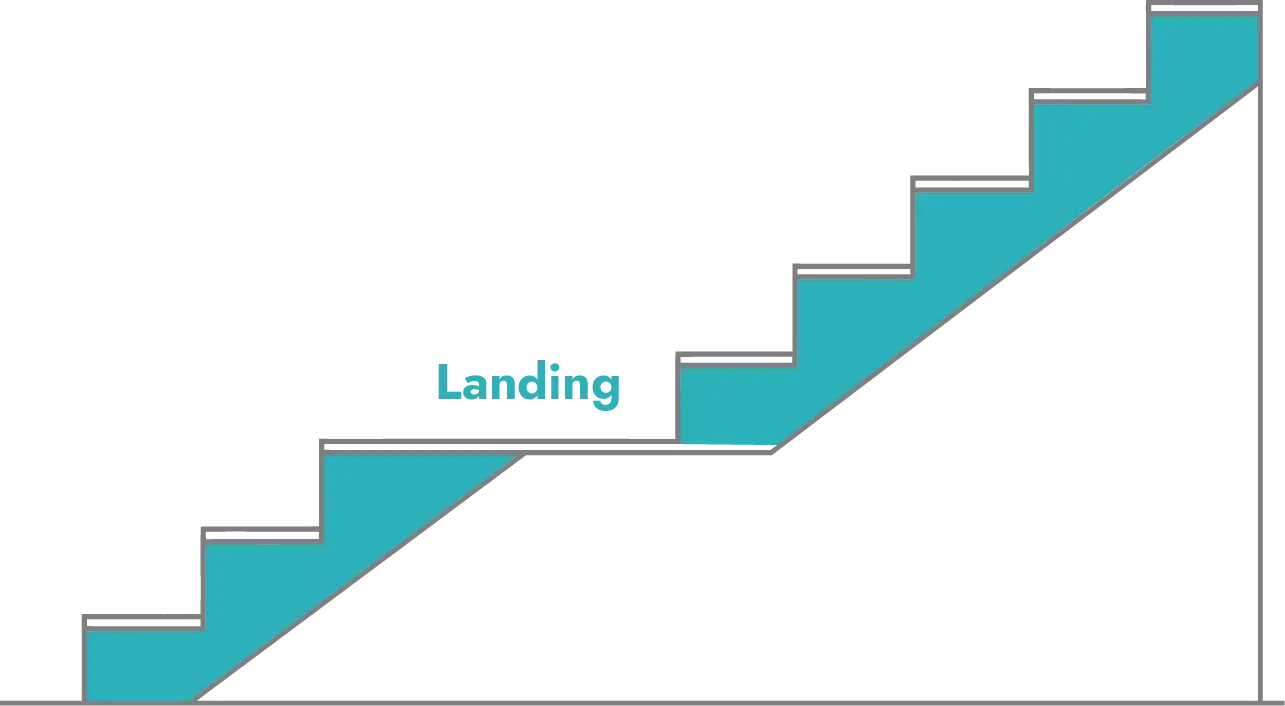
Make sure the two rises add up to the total rise. It sounds obvious, but mismeasuring one section is one of the most common mistakes on landing stairs.
Step 3: Calculate the first flight
Treat the first flight as a standalone staircase:
- Estimate the riser count: divide the first-flight rise by a comfortable riser height such as 7 inches. Example: 50" ÷ 7" = 7.14.
- Round to a whole number: 7 risers.
- Find the exact riser height: 50" ÷ 7 = 7.14" (about 7 1/8"). This is the number you lay out on the stringer.
- Count the treads: one fewer than the risers, because the landing is the top step. 7 − 1 = 6 treads.
- Find the total run: 6 treads × 10" = 60 inches of floor space.
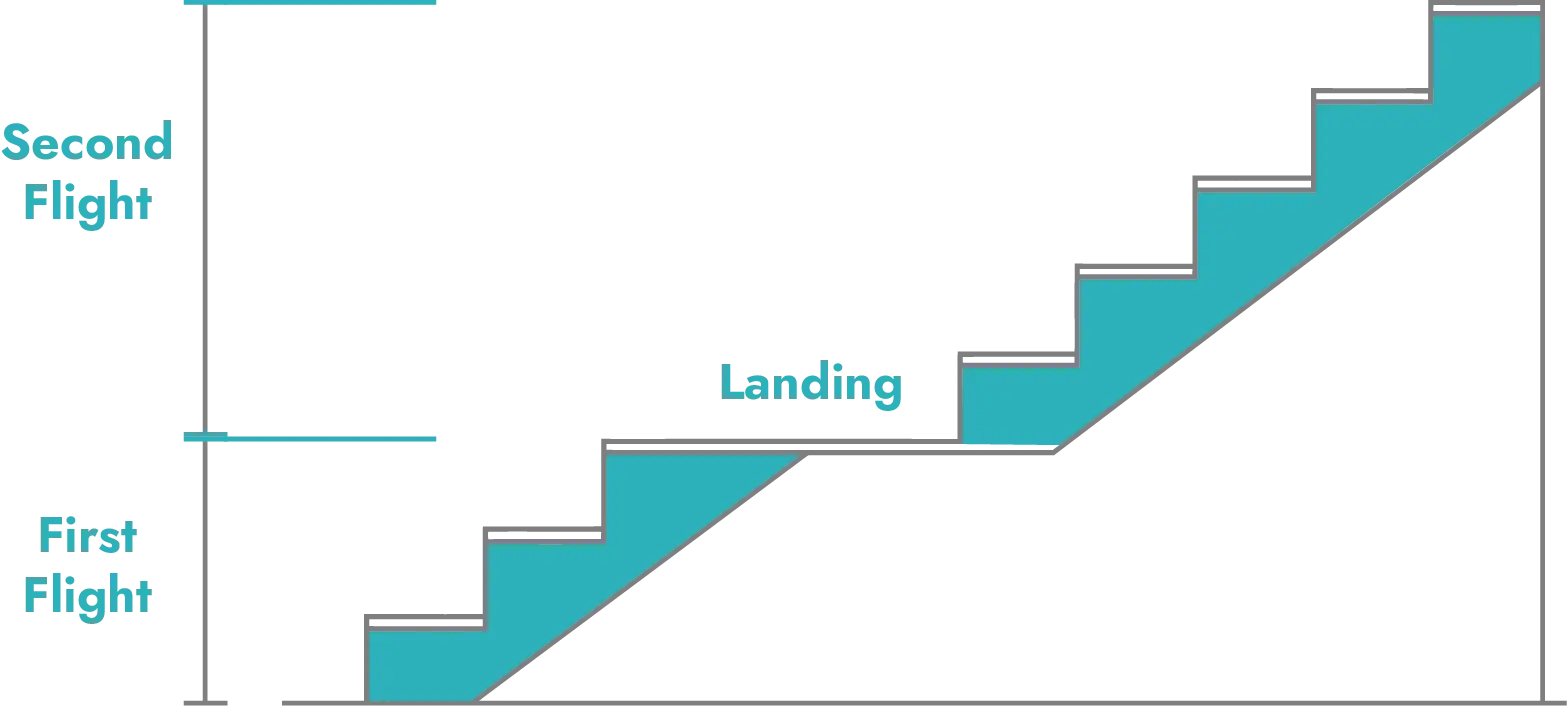
Step 4: Calculate the second flight
Repeat the same process with the second-flight rise. Find the riser count, the exact riser height, the number of treads (risers minus one), and the total run.
Critical check: the riser height on both flights should match. Codes allow up to 3/8" of variation within a flight, but a mismatch between flights still breaks the walking rhythm. If the two heights differ by more than about 1/8", adjust the landing height and recalculate.
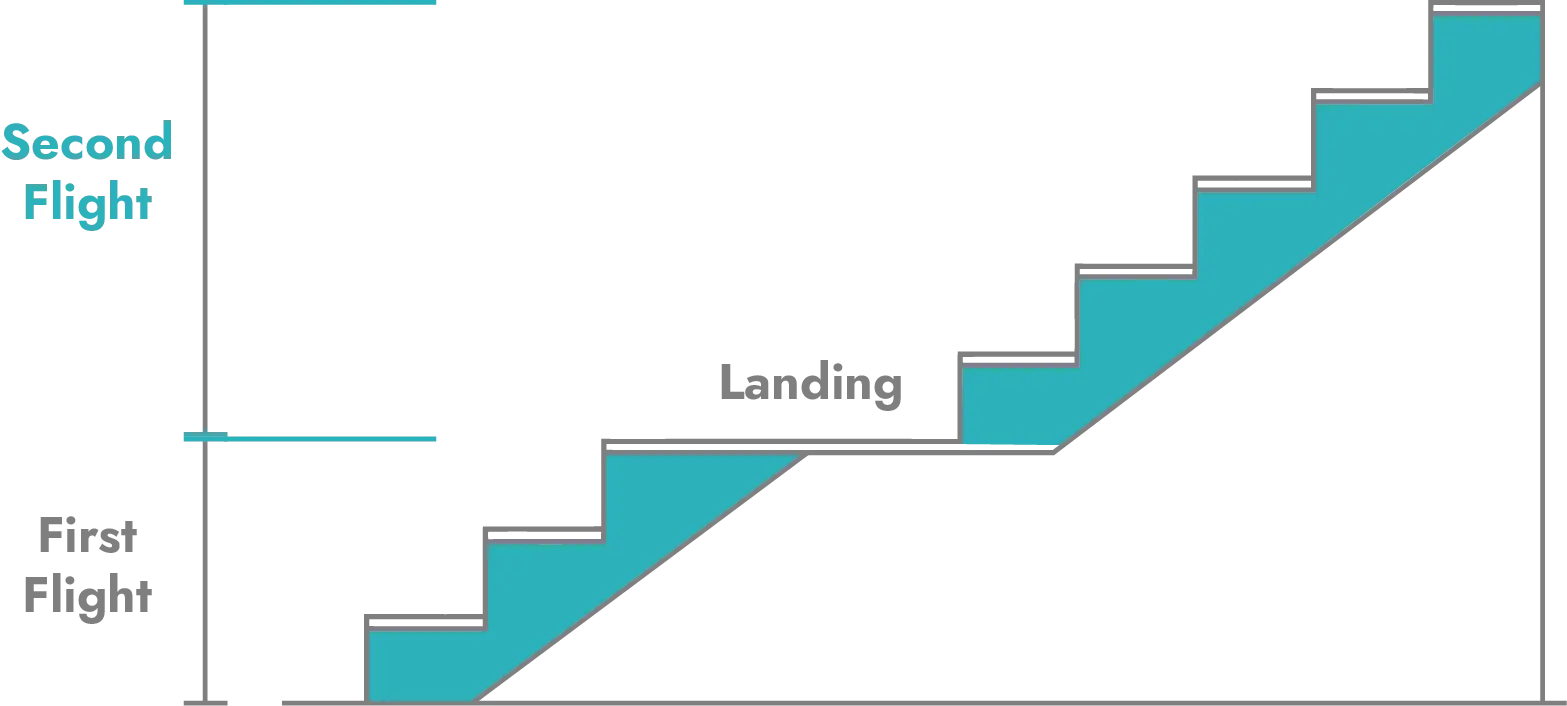
When the risers won’t match, move the landing instead of fighting the numbers. Raising or lowering it by half an inch is often enough to make both flights work out perfectly, and nobody will ever notice the landing isn’t exactly halfway.
Step 5: Size the landing
- Width: at least as wide as the stairs. A 36-inch stair needs a landing at least 36 inches wide. A U-shaped landing must be wide enough for both flights side by side.
- Depth: at least 36 inches in the direction of travel. Always confirm with your local code.
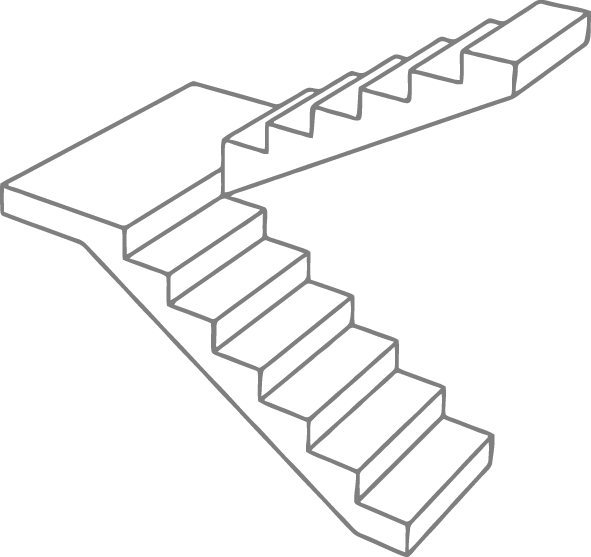
A landing is a structural pivot point, not just a patch of floor. Double the perimeter joists and hang every interior joist with metal joist hangers rather than nails alone. It is a bit more work, but the landing will never feel bouncy or sag.
Step 6: Final review and code check
Before you cut any lumber, confirm:
- Riser uniformity: all risers match, ideally within 1/8".
- Tread depth: every tread meets your local minimum (10" under the IRC).
- Headroom: at least 6' 8" of clearance above the stairs and the landing.
- Landing size: the landing meets the minimum width and depth.
- Stair angle: codes control steepness through the riser and tread limits rather than a fixed angle. Aim for 30° to 37° for a comfortable climb.
Using the stair calculator for landings
Start with the landing planner on our homepage. Enter the overall floor-to-floor rise, the total number of risers, how many sit below the landing, the tread going, and the landing depth. It keeps one equal riser height across both flights and shows the landing height, each flight’s run, and an inline diagram.
Then run the main stair calculator once for each flight, entering that flight’s rise and the planner’s riser count with Fixed riser count. Each run gives you the tread layout points, the first stringer cut, and a printable plan. If the landing is already built, measure its actual height and calculate each flight from those fixed levels.
Common mistakes to avoid
- Inconsistent riser heights: the most common and most dangerous error.
- Ignoring building codes: it leads to unsafe stairs and failed inspections.
- Forgetting finished flooring: this catches beginners and pros alike. I once fixed a set of deck stairs whose bottom riser was a full inch short because the builder measured from the dirt instead of the stone patio that was about to go in. Always measure from finished surface to finished surface, including tile, hardwood, and decking.
- Under-framing the landing: landings carry concentrated loads; frame and support them properly.
- Measuring only once: double-check every critical dimension before you cut.
Frequently asked questions
Do I legally need a landing?
You need a floor or landing at the top and bottom of every stairway. Under the IRC, you also need an intermediate landing when a single flight would rise more than 151 inches (12' 7"). Commercial stairs under the IBC are limited to 12 feet per flight. Always check local amendments.
Can the top flight have a different riser height than the bottom flight?
Avoid it. For safety and a steady walking rhythm, keep every riser in the staircase the same height. That is why getting the landing height right matters so much.
What is the difference between an L-shaped and a U-shaped stair?
An L-shaped stair has one landing and turns 90 degrees. A U-shaped (switchback) stair turns 180 degrees, so the two flights run side by side and the landing must be wide enough for both. The calculation method in this guide works for both.
What size lumber should I use for a landing frame?
Small residential landings are commonly framed with 2×8 or 2×10 joists, using pressure-treated lumber outdoors. The right size depends on the span and load, so check your local span tables. Our guide to lumber for stairs has more detail.
Final thoughts
Building stairs with a landing is a true test of precision, but the payoff is a staircase that is safer and easier to use for decades. Get the math right first, double-check every measurement, and remember the carpenter’s motto that matters most on stairs: measure twice, cut once.