Stairs are one of the most demanding parts of any carpentry project. Unlike everyday framing, they require precise measurements, accurate cuts, and careful alignment — a small error in step height or angle leaves you with uneven steps and structural problems. The right tools make that precision much easier, whether you are a first-time DIYer or a seasoned pro.
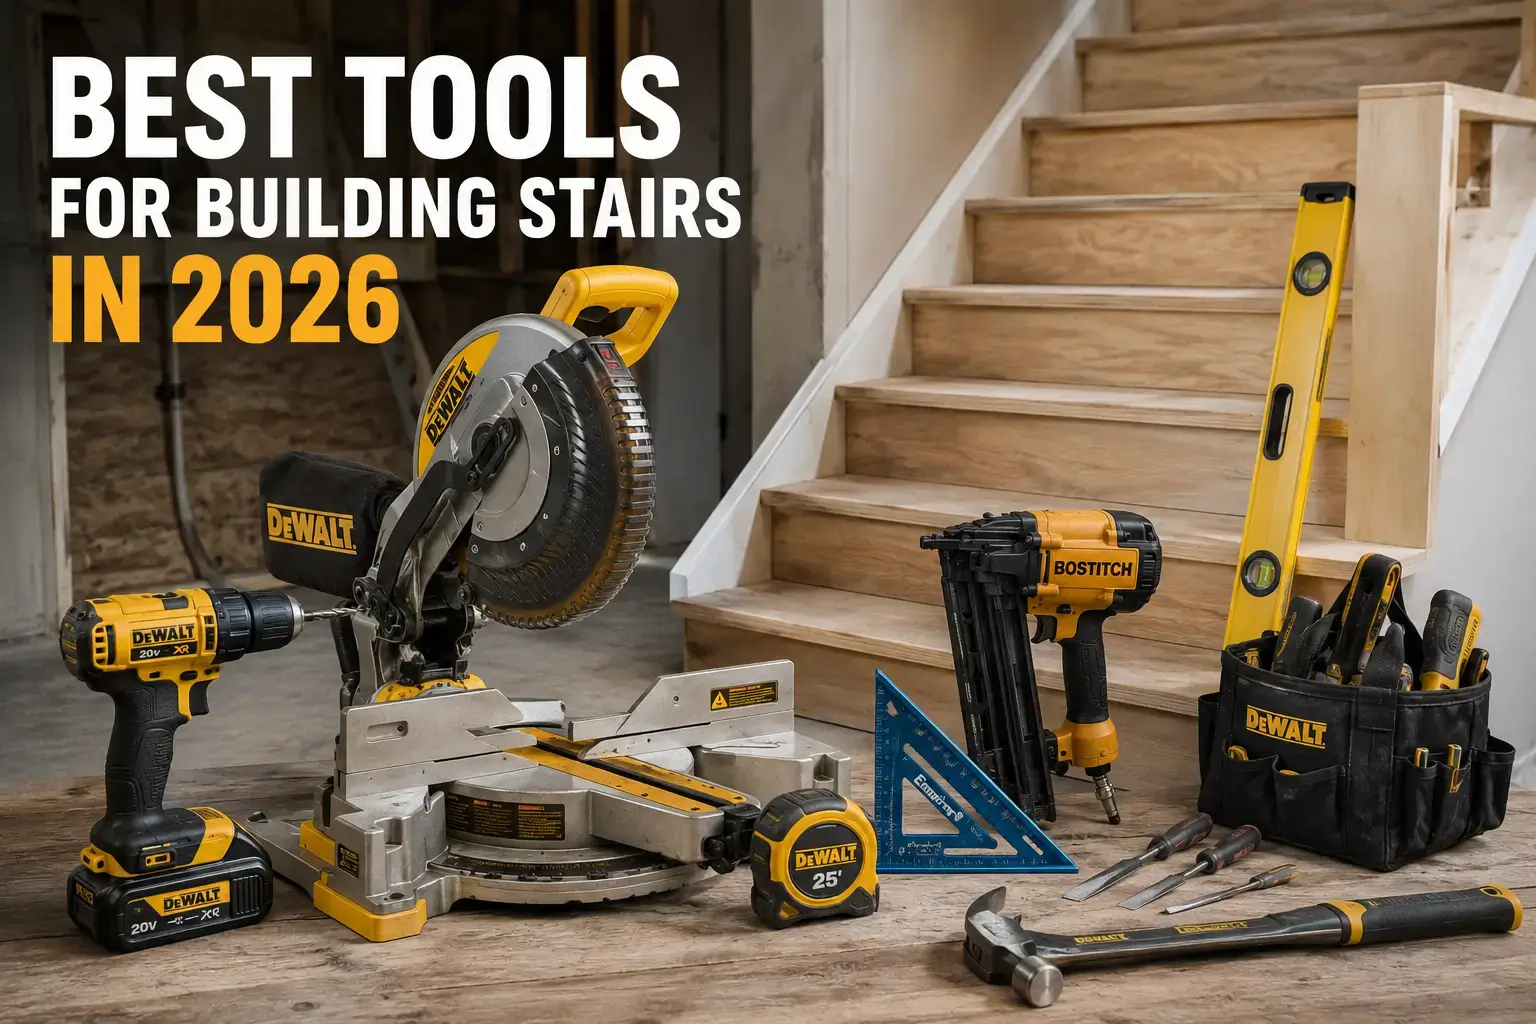
Whether you are building new wooden stairs, adding deck stairs, or renovating an existing staircase, this guide covers the tools worth having in 2026: measuring and layout tools, cutting tools, fastening tools, and safety gear.
In this guide
Measuring and layout tools
1. Tape measure
The most basic stair tool, and one of the most important. You will use it for total rise, tread depth, stair width, and landing dimensions. Look for:
- At least 25 feet of blade
- A firm, reliable lock
- Clear markings, including 1/16-inch graduations
- A magnetic or oversized hook
2. Framing square
The framing square is the classic tool for laying out stair stringers. Builders use it to:
- Mark the rise and run of each step
- Lay out stringers quickly and accurately
- Check corners for square
3. Stair gauges
Stair gauges are small clamps that lock onto the framing square at your rise and run measurements. With them in place, every notch you mark is identical, which matters most when you are laying out several stringers. If you build stairs regularly, they are a must-have.
4. Laser level
A laser level projects straight horizontal and vertical lines, which makes it easy to measure total rise accurately and keep stairs aligned. Benefits include:
- Accurate measurements over long distances
- Faster layout
- Easier work on decks and sloped ground
A good 4-foot spirit level is still essential for checking each tread and the landing.
5. Digital angle finder
A digital angle finder measures and transfers angles precisely. It is especially useful on custom staircases for:
- Measuring stringer and stair angles
- Setting handrail angles
- Checking corner and miter cuts
6. An online stair calculator
Before you mark a single board, a stair calculator turns your total rise into exact riser heights, tread counts, stringer length, and layout points, and checks them against common code limits. It is free and runs in your browser.
Cutting tools
7. Circular saw
The workhorse for cutting stringers, treads, and risers. It is fast, portable, and handles both indoor and outdoor work. Use a sharp carbide-tipped blade, and stop each stringer cut at the layout line.
8. Miter saw
The best tool for precise crosscuts and angled cuts on treads, risers, trim, and railings. A sliding compound miter saw offers:
- More cutting capacity for wide treads
- Accurate angle adjustments
- Clean, repeatable cuts
9. Jigsaw
Ideal for curves, notches, and detailed cuts such as rounded tread ends and trim pieces. It isn’t your main cutting tool, but it is invaluable for custom work.
10. Handsaw
A sharp handsaw finishes the inside corners of stringer notches where a circular saw can’t reach without overcutting and weakening the board.
Drilling and fastening tools
11. Cordless drill
One of the most versatile tools on the job, used for pilot holes, driving screws, and installing hardware.
12. Impact driver
An impact driver delivers far more torque than a drill, making it ideal for long structural screws and lag fasteners.
- Drives long screws quickly
- Less wrist strain
- Stronger fastening power
Many builders keep both: the drill for pilot holes and the driver for fastening.
13. Nail gun
A nail gun speeds up installation and keeps fastening consistent. A framing nailer handles structural work, while a finish nailer is ideal for trim, risers, and molding on interior stairs.
14. Hammer
Still essential for framing adjustments, pulling nails, and light assembly. A smooth-faced framing hammer is a good choice for stair work.
15. Chisels
Wood chisels clean up notches, refine joints, and make fine fitting adjustments.
16. Clamps
Clamps hold boards steady while you cut, drill, and assemble, which improves safety, precision, and alignment. They are also handy for clamping stringers together so you can check that they match.
Safety gear
Stair building involves power saws, overhead work, and heavy lumber. Keep these on hand:
- Safety glasses for every cut
- Hearing protection when running saws and nailers
- Work gloves for handling lumber
- A dust mask or respirator, especially when cutting treated lumber or MDF
- Sturdy, non-slip work boots
Stair building tool checklist
| Tool | Main job | Priority |
|---|---|---|
| Tape measure | Total rise, tread depth, width | Essential |
| Framing square + stair gauges | Stringer layout | Essential |
| Level (spirit or laser) | Accurate rise, level treads | Essential |
| Circular saw + handsaw | Cutting stringers | Essential |
| Drill and impact driver | Pilot holes and fastening | Essential |
| Miter saw | Treads, risers, trim | Recommended |
| Nail gun | Trim and fast fastening | Recommended |
| Digital angle finder | Handrails and custom angles | Nice to have |
| Jigsaw, chisels, clamps | Detail work and fitting | Nice to have |
Frequently asked questions
What is the most important tool for building stairs?
Accurate measuring and layout tools matter most: a reliable tape measure, a level, and a framing square with stair gauges. Every cut depends on them.
Do I need stair gauges?
They aren’t strictly required, but they make stringer layout faster and far more consistent. For the small cost, they are well worth it.
Can I cut stair stringers with just a circular saw?
Use the circular saw for most of each cut, stop at the line, and finish the inside corners with a handsaw or jigsaw. Running the circular saw past the line weakens the stringer.
How do I measure total rise accurately?
Extend a long level or a laser line straight out from the upper finished floor and measure down to the finished surface where the bottom step will land. Measure in more than one spot if the ground is uneven.
Final thoughts
Good tools don’t replace careful planning, but they make accuracy far easier. Start with solid measuring and layout tools, add quality saws and fastening tools, and protect yourself with the right safety gear. Then plan your dimensions with the stair calculator and build with confidence.