How to Build Stairs with a Landing (Step-by-Step Guide)
With over 15 years of experience, building a staircase with a landing introduces an extra layer of complexity compared to a straight run, but it’s a very common requirement for decks, basements, or interior spaces where a straight shot isn’t feasible or desired. The good news is that by breaking the project down into manageable sections, and understanding a few key principles, you can achieve a safe, compliant, and professional result. This guide will walk you through the essential calculations and considerations.
Understanding the Basics: Why a Landing?
A landing serves multiple purposes: it breaks up a long flight of stairs, provides a resting point, changes the direction of the staircase (L-shaped or U-shaped), and often provides access to different areas. From a calculation perspective, the most important thing to grasp is that a staircase with a landing is essentially two separate straight staircases, connected by that landing. This simplifies the math significantly.
Essential Tools & Information You’ll Need
Before you even touch a stair calculator, gather these:
Total Rise: The complete vertical measurement from the lower finished floor to the upper finished floor.
Desired Landing Height: The target vertical height for your landing’s surface.
Local Building Codes: This is non-negotiable. Know your local rules for stair for minimum tread depth and maximum riser height before you do any math.
Essential Layout Tools: A good tape measure, a 4-foot level, and a pencil.
A Calculator: Use your phone, or for guaranteed accuracy, our Stair Calculator
Step-by-Step Calculation for Stairs with a Landing
Let’s break down the process into clear, actionable steps.
Step 1: Determine Total Rise
Measure the exact vertical distance from the bottom finished surface where the first step will sit to the top finished surface where the top step (or landing for the second flight) will meet.

For example, if you’re building deck stairs, this would be from the ground to the top of the deck frame. Let’s call this Total Rise (TR).
Step 2: Establish the Landing’s Height
Decide at what height your landing will sit.
For an L-shaped or U-shaped stair:
The landing is usually placed roughly halfway up the Total Rise, but this can vary. For instance, if your Total Rise is 100 inches, your landing might be around 50 inches high.
For an intermediate landing on a very long straight run:
You might calculate how many risers lead up to the landing.
Once you have this, you’ve effectively created two “Total Rise” values:

- First Flight Total Rise (FLTR): The vertical distance from the bottom floor to the top of the landing surface.
- Second Flight Total Rise (SLTR): The vertical distance from the landing surface to the upper floor.
- Self-Correction from a Pro: Ensure FLTR + SLTR = TR. Sounds obvious, but a common mistake is mismeasuring one section.
Step 3: Calculate the First Flight (Bottom to Landing)
Treat this as a standalone staircase calculation.

- Get an Approximate Riser Count: Divide the First Flight Total Rise (FLTR) by a standard riser height, like 7 inches. This gets you in the ballpark. (Example: 50″ ÷ 7″ = 7.14)
- Round to a Whole Number: Round that result to the nearest whole number to get your final riser count. (In this case, we’ll use 7 risers.)
- Calculate Your Precise Riser Height: Divide the FLTR by your exact riser count. This is the most critical number for your stringer layout. (Example: 50″ ÷ 7 risers = 7.14 inches per riser.)
- Determine Your Tread Count: You will always have one less tread than you have risers. (Example: 7 risers – 1 = 6 treads.)
- Calculate the Total Run: Multiply your tread count by your planned tread depth (10″ is common). This tells you how much horizontal space the first flight will occupy. (Example: 6 treads × 10″ = 60 inches of run.)
Step 4: Calculate the Second Flight (Landing to Upper Floor)
Repeat the exact same process as Step 3, but using your Second Flight Total Rise (SLTR).

Approximate Number of Risers: Divide SLTR by your comfortable riser height.
Exact Riser Height: Adjust to a whole number of risers, then divide SLTR by this number.
Critical Check: Ideally, your riser height for the second flight should be identical to the first flight for aesthetic consistency and safety. If it’s off by more than 1/8 inch (3mm), you need to adjust your landing height or number of risers for one or both flights to achieve consistency.
From the Field: When adjusting your landing height to get the risers perfect, a tiny change makes a big difference. Moving a landing up or down by just half an inch can be enough to make the math work out perfectly for both flights of stairs without anyone ever noticing the landing isn’t exactly halfway.
Number of Treads: Risers – 1.
Total Run for Second Flight: Number of treads * tread depth.
Step 5: Determine Landing Dimensions
Width: The landing must be at least as wide as the stairs. If your stairs are 36 inches wide, your landing must be a minimum of 36 inches wide.

Depth (Run): The landing must be deep enough for safe passage, typically at least 36 inches or the width of the stairs, whichever is greater. Always confirm with your local code.
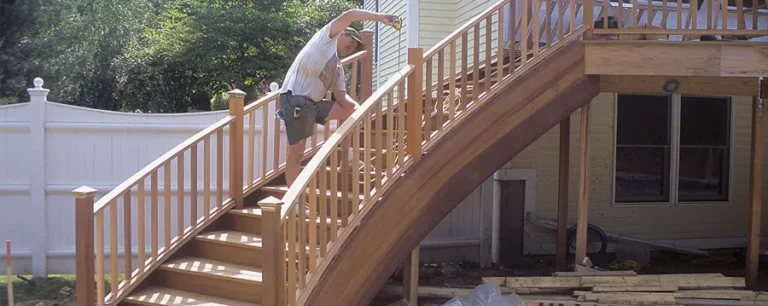
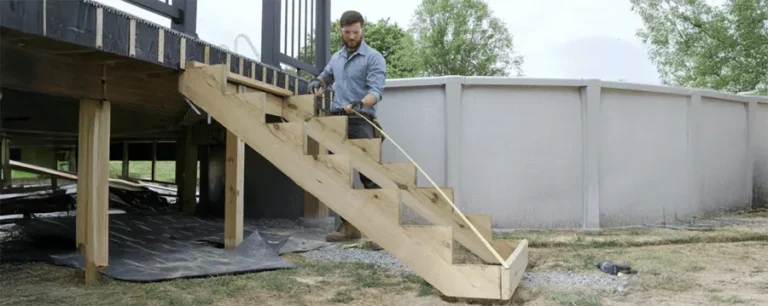
Construction Insight: Don’t frame your landing like it’s just a patch of floor; it’s a structural pivot point. I always use doubled-up joists for the perimeter and attach all interior joists with metal hangers, never just nails. It’s a bit more work, but it guarantees the landing will never feel bouncy or sag over time.
Step 6: Final Review & Code Compliance
Before cutting any lumber, check the following:
- Riser Uniformity: Are all riser heights identical? (Allowing for a max 1/8″ variance).
- Tread Depth: Does your tread depth meet the local code minimum?
- Headroom: Is there at least 6′ 8″ of clearance at all points above the stairs and landing?
- Landing Size: Does your landing meet the minimum width and depth rules?
- Stair Angle & Comfort: The relationship between your riser height and tread depth creates the stair angle, or slope. While codes don’t usually specify an exact angle (like 37 degrees), they control it through the rise/run rules to ensure the stairs aren’t dangerously steep. Your calculations should result in an angle between 30 and 40 degrees for a comfortable climb.
When to Use a Stair Calculator for Landings
While manual calculations are vital for understanding the principles, they are prone to error. Our Stair Calculator on the homepage is specifically designed to handle complex scenarios, including stairs with landings. Input your total rise, desired landing height, and code parameters, and it will instantly provide all the critical measurements needed for a perfect stair stringer layout, saving you time and preventing costly mistakes with your lumber.
Common Mistakes to Avoid
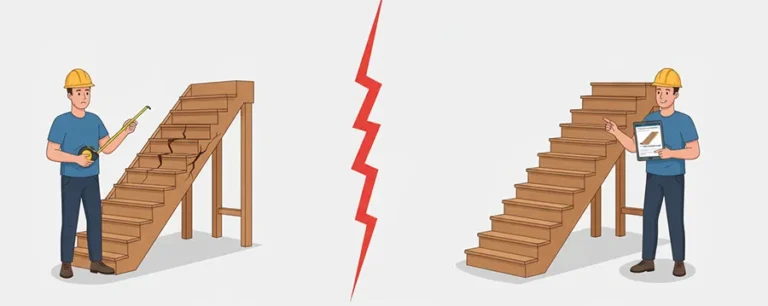
- Inconsistent Riser Heights: The most common and dangerous error.
- Ignoring Building Codes: Leads to unsafe and non-compliant stairs.
- Not Factoring in Finished Floor Thickness: This is the mistake that gets rookies and pros alike. I once had to fix a set of deck stairs where the bottom riser was a full inch short because the builder measured from the dirt, not the future height of the stone patio that was being installed. Always measure from the final finished surface to the final finished surface. This includes tile, hardwood, or decking material.
- Under-framing the Landing: Landings experience significant load; ensure proper support.
- Measuring Once: Always double, triple, and even quadruple check critical measurements.
Common Questions About Stair Landings (FAQs):
1. Do I legally need a landing
In most places, yes. The International Residential Code (IRC) generally requires a landing for any staircase that rises more than 12 feet vertically. Always check your local codes, as this is a major safety rule.
2. Can the riser height for the top flight be different from the bottom flight?
No. For safety and a comfortable walking rhythm, every riser in the entire staircase system, from the bottom floor to the top floor, must be consistent (within that 3/8″ tolerance). This is why getting your landing height perfect is so critical.
3. What’s the difference between an L-shaped and a U-shaped (or switchback) staircase?
An L-shaped stair has one landing and makes a 90-degree turn. A U-shaped stair often has a wider landing and makes a 180-degree turn, with the two flights running parallel to each other. The calculation method we’ve discussed works for both.
4. What size lumber should I use for the landing frame?
For most residential decks and interior landings, 2×8 pressure-treated lumber is a safe bet for joists, but 2x10s provide extra stiffness for wider landings. Your local span rating charts will give you the precise answer based on the landing’s dimensions. For more details see our guide on choosing the right lumber for stairs.
Building stairs with a landing is a true test of a builder’s precision, but it’s a project that dramatically improves a home. The math is the foundation. Take your time, double-check every measurement, and trust the process. A well-built staircase is a permanent feature you can be proud of for decades. Remember the old carpenter’s motto that is especially true for stairs: measure twice, cut once.
About the Author:
This guide was written by Adam , a general contractor with over 15 years of hands-on experience in residential framing and deck building. After seeing countless projects stalled by complex stair math, Adam launched TheStairCalculator.com to help both DIYers and fellow pros get their calculations right the first time.